To create this Zap, it is necessary to first connect with Zapier. You can read how to do this in this article.
Once you have connected Zapier to Watermelon, you can create the Zap for your email program. Follow the steps below to create the Zap:
Step 1: Create a trigger
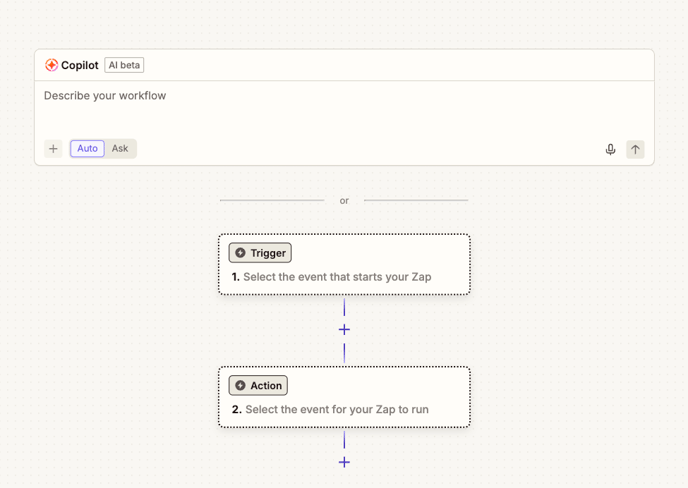
Start a new Zap
2. Select Watermelon in step 1. For Trigger Event, choose Handover Conversation Agent or Handover Conversation Team, depending on your preference.
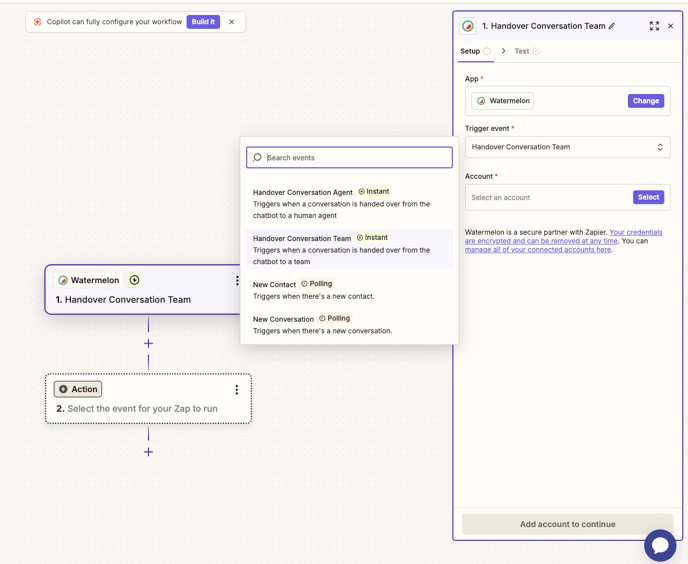
- Agent forwards conversations sent to a Human Agent
- Team forwards conversations sent to a Team
-
Select your Watermelon account under Account.
-
Click Continue and select a conversation to run the test.
You must have at least one conversation in your Watermelon inbox to run a test.
Step 2: Filter information from the chat
- In step 2, select AI by Zapier.
-
Under Input fields, select Messages Payload.
-
Describe the desired action under Prompt. For example: I want to extract the name and email address.
-
Click Generate prompt.
-
Click Continue and test this step.

Step 3: Make Payload readable
To make the Payload readable, create an additional action by clicking the "+" button.
-
Select AI by Zapier again.
-
Enter the following prompt:
Given the following messages payload:
(Add messages payload)
Your task is to separate each message onto a new line. The end of each message is indicated by a comma.
Limitations and requirements:
- Preserve the original text of each message
- Do not add any additional punctuation or formatting
- Ensure that each message starts on a new line
The desired output format should be plain text, with each message on its own line. Please repeat this process again. -
Select Messages Payload under Input fields. Click Continue and test this step.

Step 4: Connect your email
In this step, add the connection to your email system.
-
Select your email program, such as Outlook or Gmail.
-
For Action, select Send Email.
-
Select your email account and click Continue.
-
Enter a from and to email address.
-
Provide a subject for the email so it is clear that it comes from Watermelon. For example: New message from Watermelon AI Agent.
-
In the Body, click the plus icon in the input field. Then select the created prompts, such as name, email address, etc.

-
If you want the AI Agent to also include the entire chat history, select Messages Payload as well.
-
Click Continue and test this step.
Step 5: Create handover in Watermelon
In Watermelon, you can set the triggers so that the correct chats are forwarded.
You can read how to do this here.
Note: When the request is submitted, the AI Agent leaves the conversation. If the end user continues to chat, they will no longer receive a response.
Step 6: Adjusting Website Widget settings
The final step is to customize the text in the Chat Widget.
- In your Website Widget, click on Localize and select Custom under Select language.
- Replace the default text under Chat picked up by user with something like: Your request has been submitted.
Important: When the request is submitted, the AI Agent leaves the conversation. If the end user continues to chat, they will no longer receive a response.
If you want to offer the option to restart the AI agent, you can enable the queue by following these steps:
- In the Chat Widget, click on Engage and scroll to Queue; enable this option.
- Then, go to Localize and adjust the queue message.
It is not possible to hide the number of people in the queue or the estimated wait time. However, we do have an open feature request for this. To add your vote, click here.